







How to Identify Minerals at Home Using Simple Tests
Stumbling upon an unusual stone during a walk outdoors sparks an immediate curiosity. Unlocking the identity of that rock transforms a simple pebble into a tangible piece of Earth history. Geology often feels locked behind university gates and expensive laboratory equipment, yet the fundamental techniques of mineral identification require nothing more than observation and a few household items.
Viewxovira exists to demystify this hands-on science. Anyone can become a competent rock hound by learning to read the subtle clues left behind in the crystal structure and chemical makeup of stones. Patience matters more than specialized degrees when examining a fresh find on the kitchen table.
Understanding the Mohs Scale of Hardness
Hardness measures how well a mineral resists scratching. Friedrich Mohs devised a neat scale from one to ten, where talc sits at the softest end and diamond claims the absolute peak. Testing this property at home relies on objects with known hardness values.
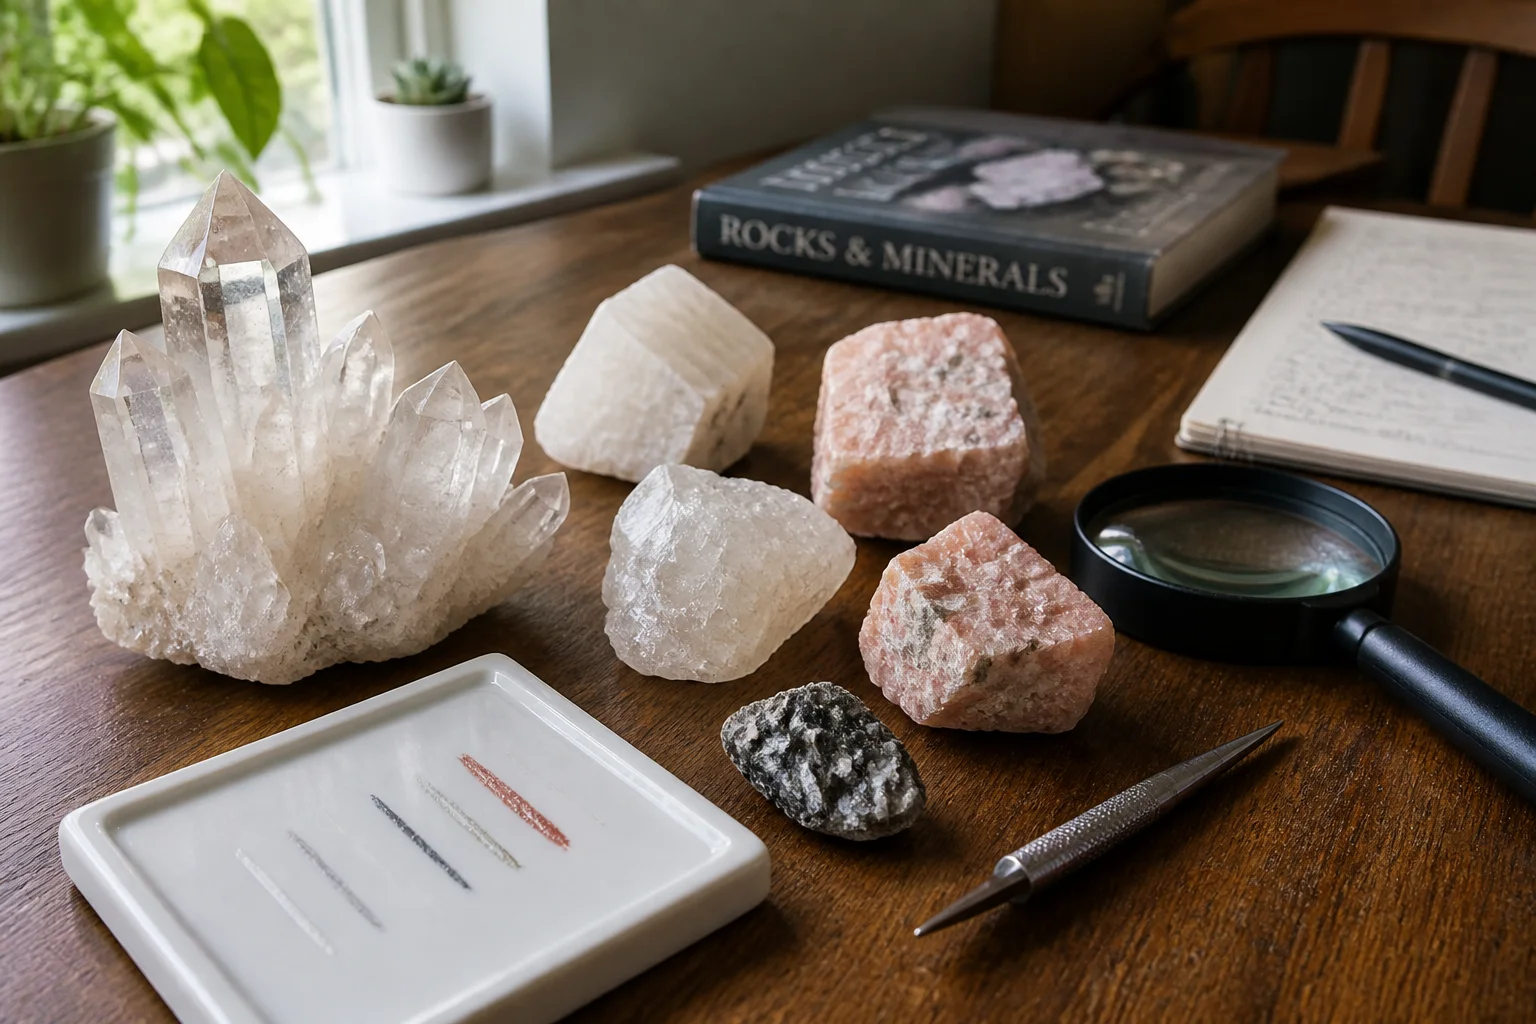
A fingernail scratches a rating of roughly 2.5, a copper penny hits about 3.5, a standard pocket knife or window glass reaches 5.5, and a steel file achieves roughly 6.5. Pressing a point of the unknown mineral across a piece of window glass reveals whether the stone is softer or harder than 5.5. Careful observation prevents misidentifying fractured surfaces as true scratches.
Reading the Streak Test
Color often misleads because impurities drastically alter the exterior appearance of a single mineral species. The streak test bypasses this confusion by examining the color of the powdered mineral instead of its bulk form.
Dragging the specimen across the unglazed underside of a ceramic tile leaves a fine powder behind. Hematite, for instance, might look dark and metallic on the outside, but it consistently leaves a reddish-brown streak. This simple diagnostic step quickly narrows down potential mineral matches.
Observing Luster and Transparency
Luster describes the way light interacts with the surface of a mineral. Translating this visual quality into descriptive terms helps immensely during identification. Common descriptive categories include:
- Vitreous luster resembling broken glass
- Metallic appearance shining like polished metal
- Pearly sheen found in certain micas
- Earthy or dull surfaces absorbing light
- Greasy textures looking coated in oil
Transparency adds another layer of detail. Some stones let light pass straight through them completely, while others block light entirely or only allow a faint glow along thin edges.
Cleavage and Fracture Patterns
When a mineral breaks, the resulting surfaces reveal internal planes of weakness. Cleavage creates smooth, flat planes reflecting light evenly, while fracture produces jagged, uneven, or curved boundaries.
Mica splits effortlessly into paper-thin sheets due to perfect basal cleavage. Quartz lacks cleavage altogether, fracturing instead into curved, shell-like patterns known as conchoidal fracture. Inspecting these break lines under a magnifying glass clarifies the internal atomic arrangement.
Common Minerals to Start With
Starting an identification journey works best with well-known reference specimens. Quartz appears everywhere, boasting high hardness, vitreous luster, and no cleavage. Calcite bubbles aggressively when a drop of vinegar touches it, providing an instant chemical test alongside its three directions of cleavage. Feldspar displays blocky shapes and stubborn hardness, anchoring igneous rocks across the globe.
Mastering these basic properties builds a solid foundation for any budding geologist. Every rock tells a story of cooling magma, deep pressure, or ancient evaporating seas waiting patiently to be read.
Comments